

Prologue: The Summary
To summarize what this project is, I am planning on creating a arcade-style skateboarding game that revolves around the gimmick of controlling a fingerboard (think Tech Decks) and having the level design showcase that with maps featuring common household objects that are used in a way to represent objects from skateparks like ramps, half-pipes and rails.
In this post, I’ll cover most of not all progress made during the project’s development stages, so no stuff regarding planning, research etc. as that will be posted in a separate post if necessary.
NOTE: The FMP Project is a continuation of my Welsh Bacc Individual Project. This post will cover the work I did then.
SECTION 1: The Foundation
This project was built with the Rolling Ball Template as a base to work on. I chose to use this template specifically because it had elements that I could use in this game. Outside of the game-play, this project would feature basic UI / menu elements such as the title screen, options menu and a menu where you could customize your board.
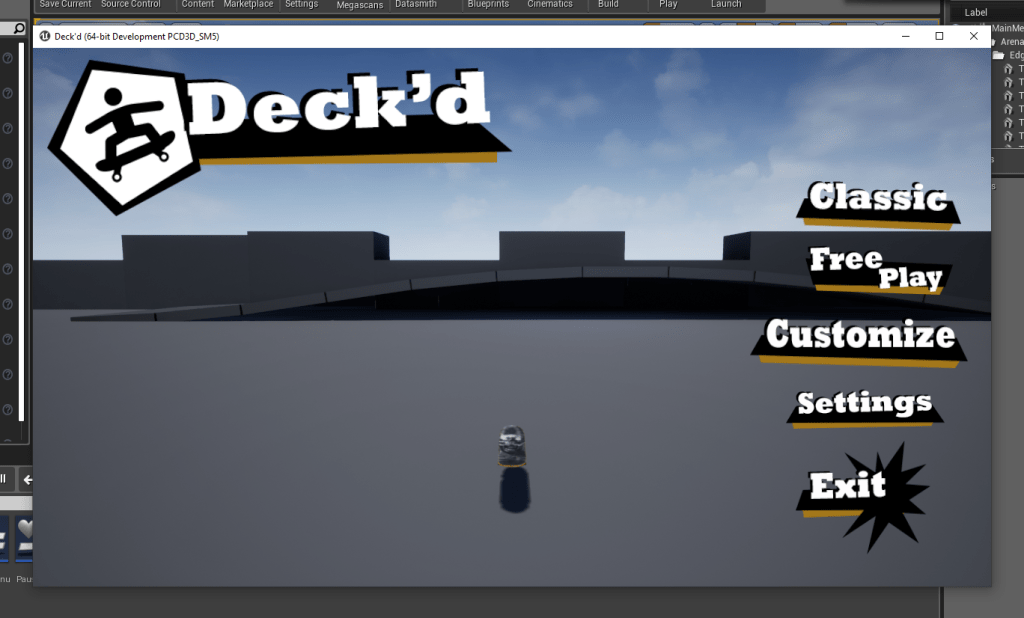
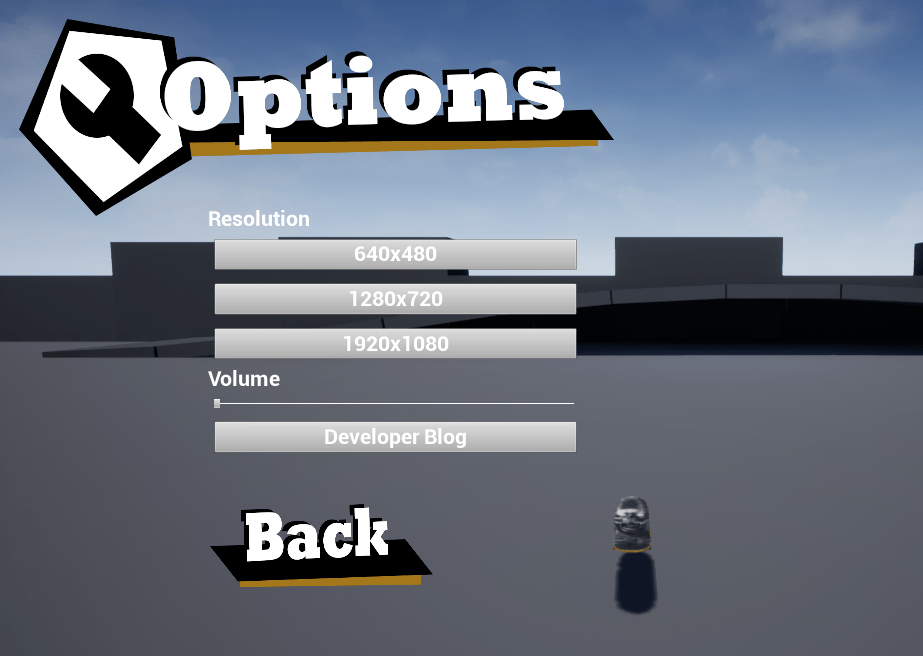
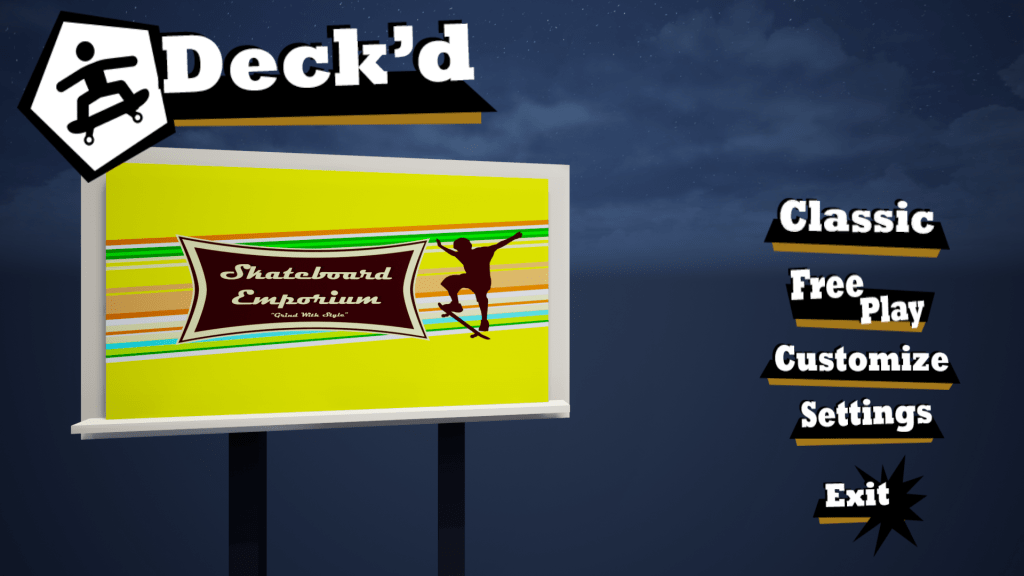
So far, For UI I got the title screen (pictured above) with all the options shown (Currently free play, customize, settings and exit are functional with exit closing the game, free play opening a level and settings swapping the main menu widget with the options one. Currently, the menu uses the stock boxes provided by the engine and currently, only the resolution settings work. The volume slider is yet to be set up as there is no music / sounds to test this with yet.
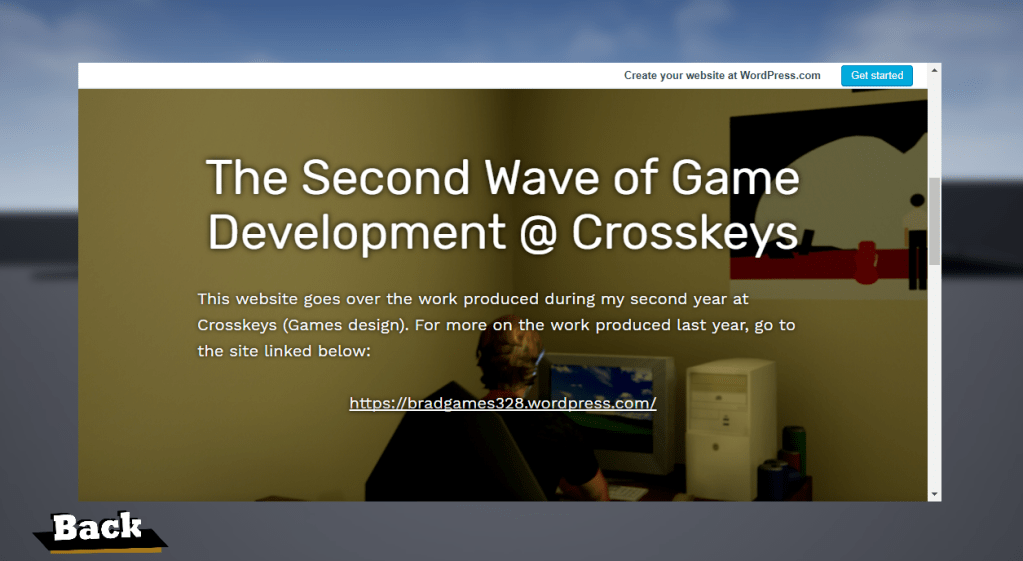
The ‘Developer Blog’ essentially creates a bare-bones web browser that loads up my most recent WordPress site (this will be replaced with this page in the final build.) This doesn’t have a search bar, though in this case, something like that isn’t really necessary.
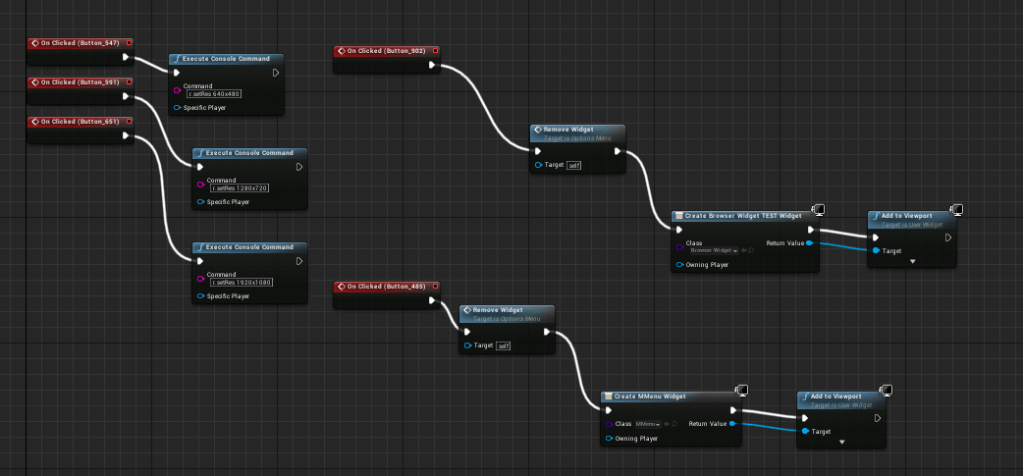
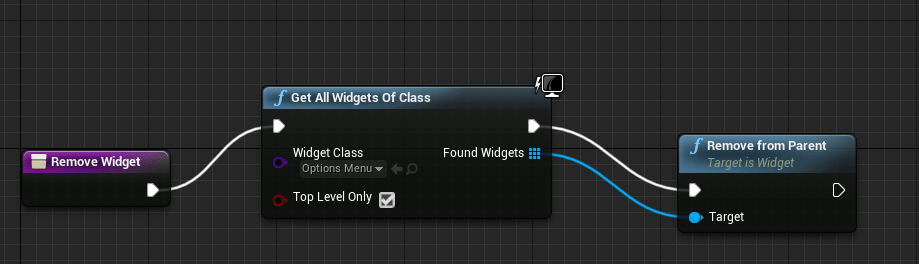
Below are the blueprints used for the options menu. The remove widget command (which is also used on the main menu) allows me to switch between menus without needing to create a entirely new map like I did with previous projects. ‘Remove from parent’ removes the widget, whilst ‘create widget’ and ‘add to viewport’ makes and displays the desired widget (i.e. options button creates options menu whilst removing the main menu)
To go into a bit more detail with the resolution settings, I used the r.setRes command to change the res settings alongside ‘Execute Console Command’. To test this, I had to play the game as a ‘standalone game’ or in other words, in it’s own window. Based on what I got, 1280×720 (windowed) is the project default, 1920×1080 sets the game in full screen, and 640×480 (windowed) displays a box-like window which turned out to be impractical as that setting couldn’t display menus currently outside of the options menu.
The web browser uses it’s own widget blueprint, though unlike other widget types, this one needed to be activated on the plugins page, requiring a restart.
The page it goes to, or the ‘initial page’ is set in the appearence settings, and like other blueprints, this one also uses it own BP. Below is part of it.

When I set up the audio slider, I used a tutorial i came across online (https://answers.unrealengine.com/questions/197144/change-audio-volume-audio-slider.html / https://forums.unrealengine.com/community/community-content-tools-and-tutorials/1587490-audio-settings-menu) and some VG music for testing purposes.
The first tutorial seemed useful at first, however I ran into several issues when trying to set it up, with some nodes being being near impossible to access. The tutorial did provide a download link for the files, but when I opened it, I found out that the finished scene’s blueprints were broken in places, so I decided to stop following that tutorial shortly after. The same also applies for the second one unfortunately.
I am currently looking at an old project from last year that had volume control and I plan on recycling those blueprints for this project.
Section 2: Some further developments
Quite some time has passed since me writing section 1 and 2 so I’l be covering a lot here. Not much has changed in the UI design apartment aside for the fact that the Main Menu Level’s viewport has a fixed camera assigned to it instead on having the viewport focused on the player character. Also, the Main menu level no longer has a player character in it and I managed to solve an issue where the level where it would automatically create a player character.
A tutor i had gave me access to an old demo he had made and he gave me permission to use it for this project. The game in question was a multiplayer-style tank game with a simple control scheme.
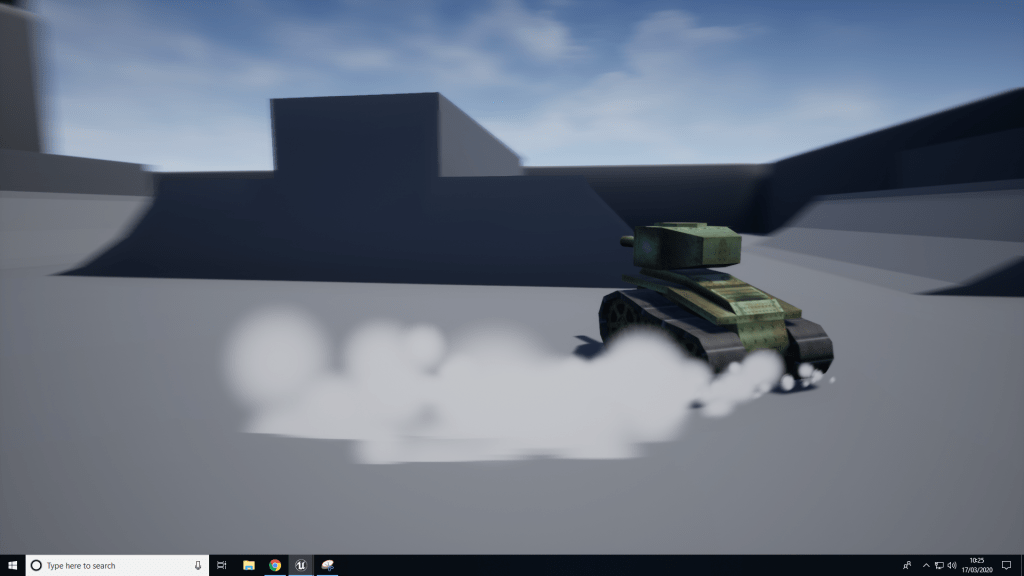
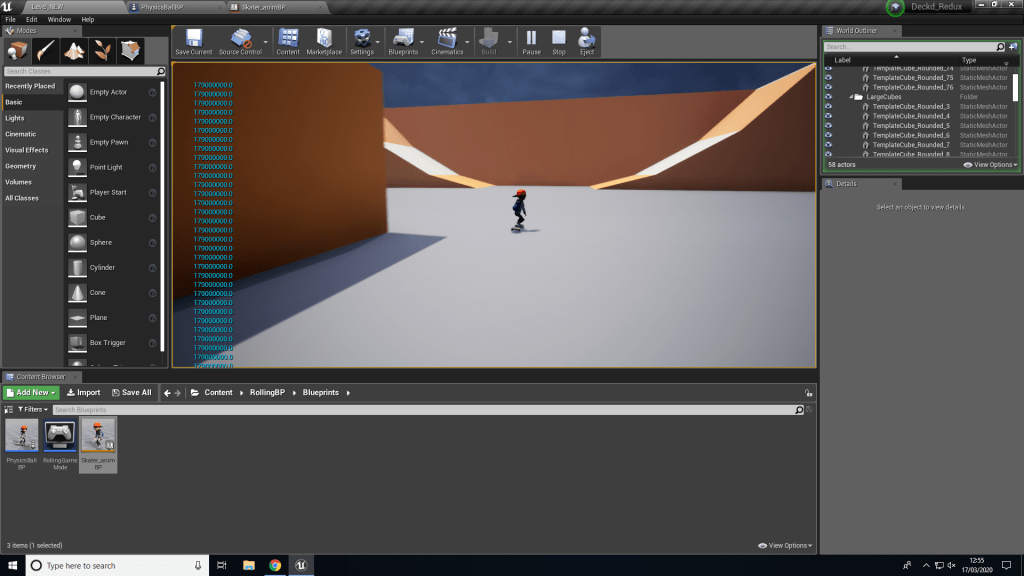
With my project, I made a few tweaks such as removing the ability to shoot projectiles and spawn the smoke particle effects and swapped out the tank with the skateboard (as well as a skater model which I’ll get into later)
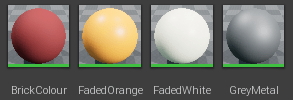
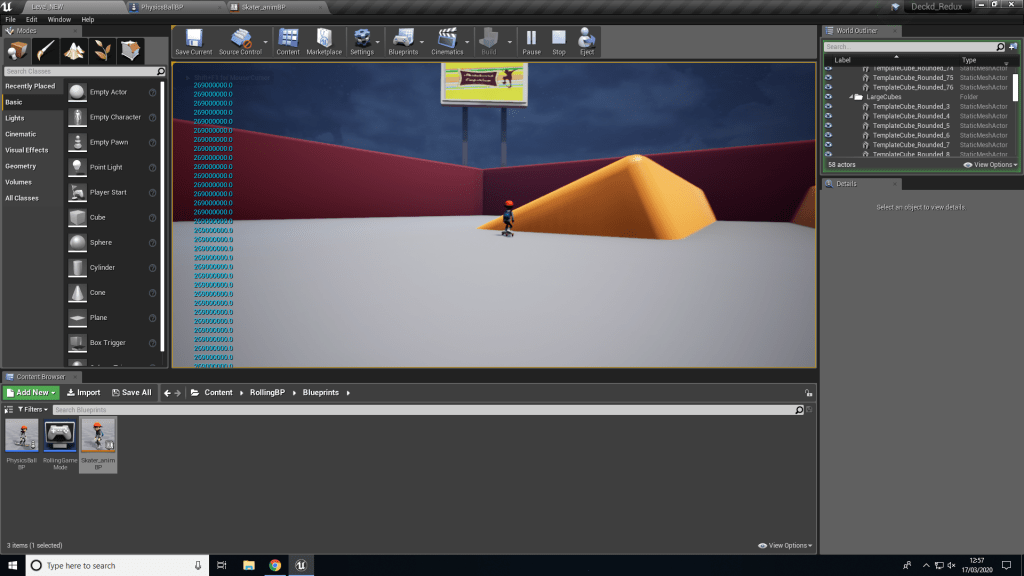
I also created a few basic colour materials to add some colour to the park. for reference, each of the ‘colour’ materials use constant3vector.

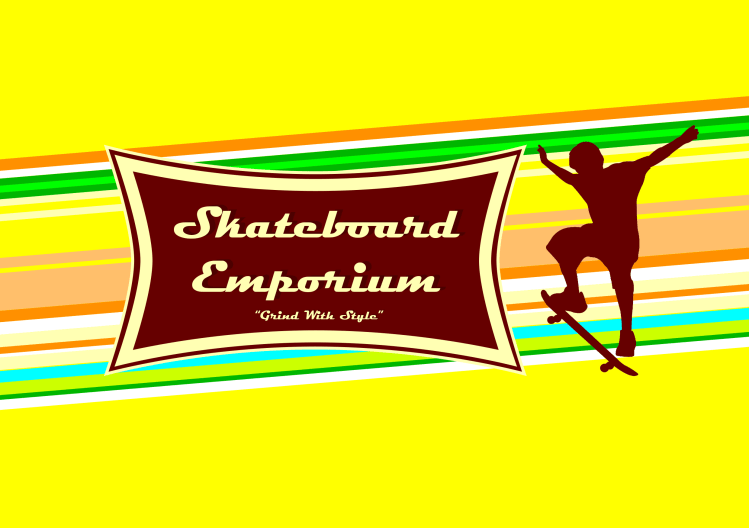
The image shown on the billboard was chucked together on Photoshop in a few minutes and was made just to make the overall level look a bit nicer.
i forgot to mention this in the first section, but I also made a quick intro video. Before, it was just a simple intro that showed the Unreal engine and company logo (the company I made up was called ‘Place Holders Studios’) but now, after finishing the project, I made a video that has a camera sequence made in Unreal Engine and some screen-capped gameplay.
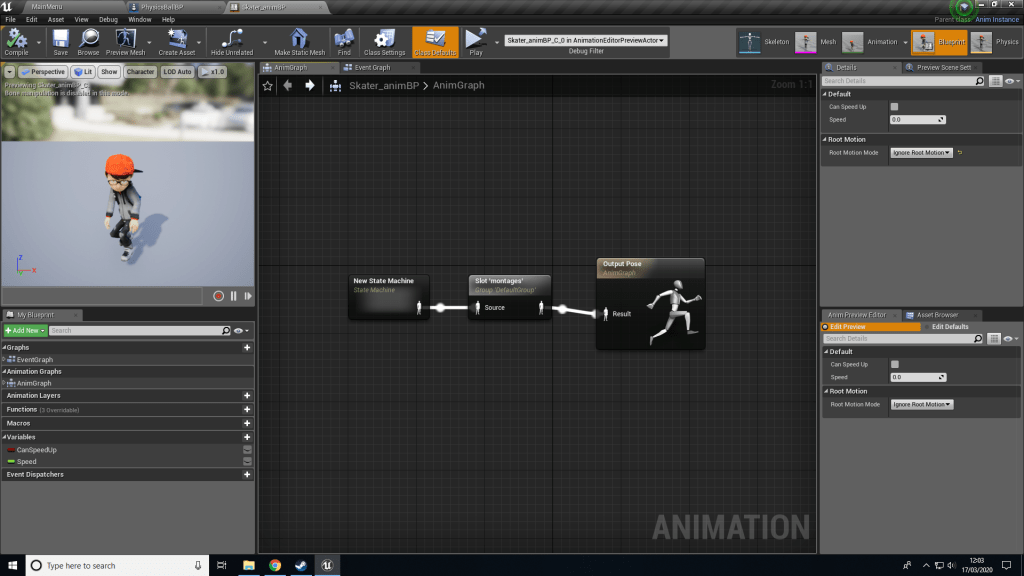
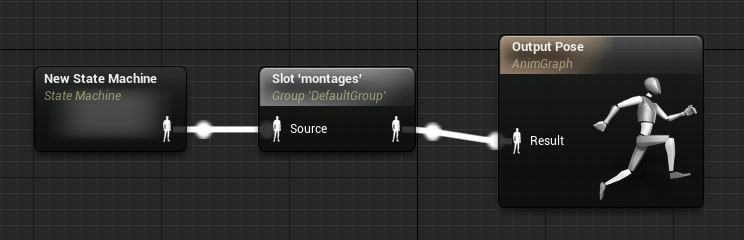
Now, let’s discuss that character model then. The player character now uses 2 blueprints. PhysicsBallBP contains everything that covers the majority of how the player character moves, jumps etc, whereas the animation blueprint handles the animations and when they are used.
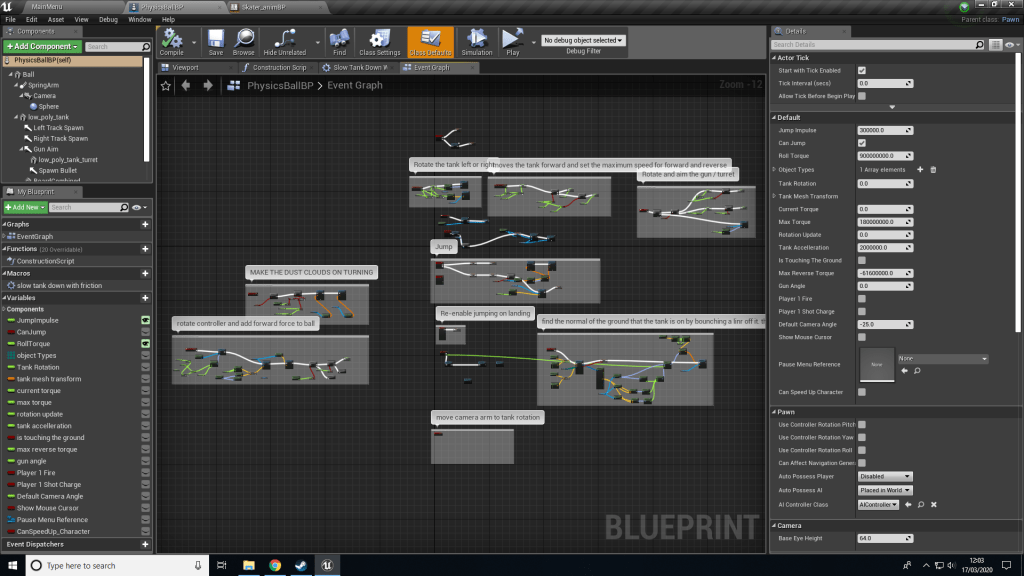
Regarding some of the changes I made to the original blueprint, I changed some values, mainly the values for the jump impulse (affects how high he can jump) and the Acceleration a bit. I disabled some of the nodes that were used for the smoke and ability to shoot as mentioned before.
The animation blueprint aside from managing animations also works alongside the previously mentioned PhysicsBallBP to allow the player to speed up with a button command.
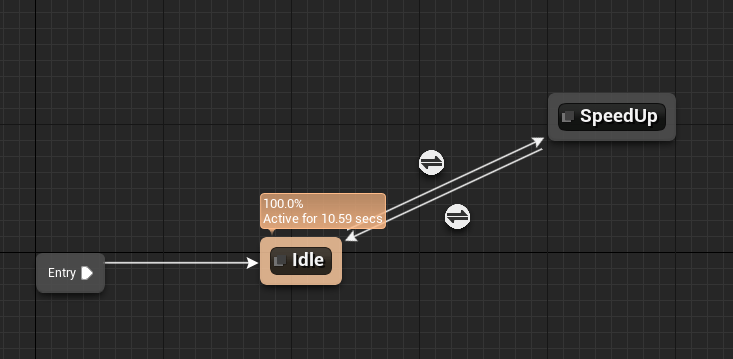

The way the speed up mechanic works is that when a player presses shift, the max speed will be increased. However, pressing it again allows to go a bit faster for a few seconds before the max speed is reset back to the default value. It also resets to default after a little while too.

One major problem here (outside of the blueprint) is that this could also be activated while airborne, so I would need to make some changes to the blueprint so that it can only be used when on the ground.
Section 2: Some Necessary improvements
After the deadline for the Welsh Baccalaureate Individual Project went by, work has begun on the Final Major Project. For the FMP, I have decided to work on a finished version of my individual project with all of the content I wanted to add to the original game, that being multiple levels, improved menu and UI and some customisation options.
Admittedly, I did waste some time here and hadn’t touched up on it for a good few weeks, so I do have less time to work on this than I would like. That, and because of the recent pandemic, I would need to use the equipment I have access to at home. I have most of the software (with a few exceptions) but my PC is somewhat less powerful than the College PCs. Given that I have mentioned in the past that I tend to have a poor work ethic when at home, it can be suggested that I had made the choice to ignore the work until recently.
Nevertheless, to start off with, I wanted to start simple with something that wouldn’t require a lot from my PC by first working on the menus and making them better, both functionally (?) and visually. This would involve creating a template in PS and then implementing that in UE4 Widgets.
